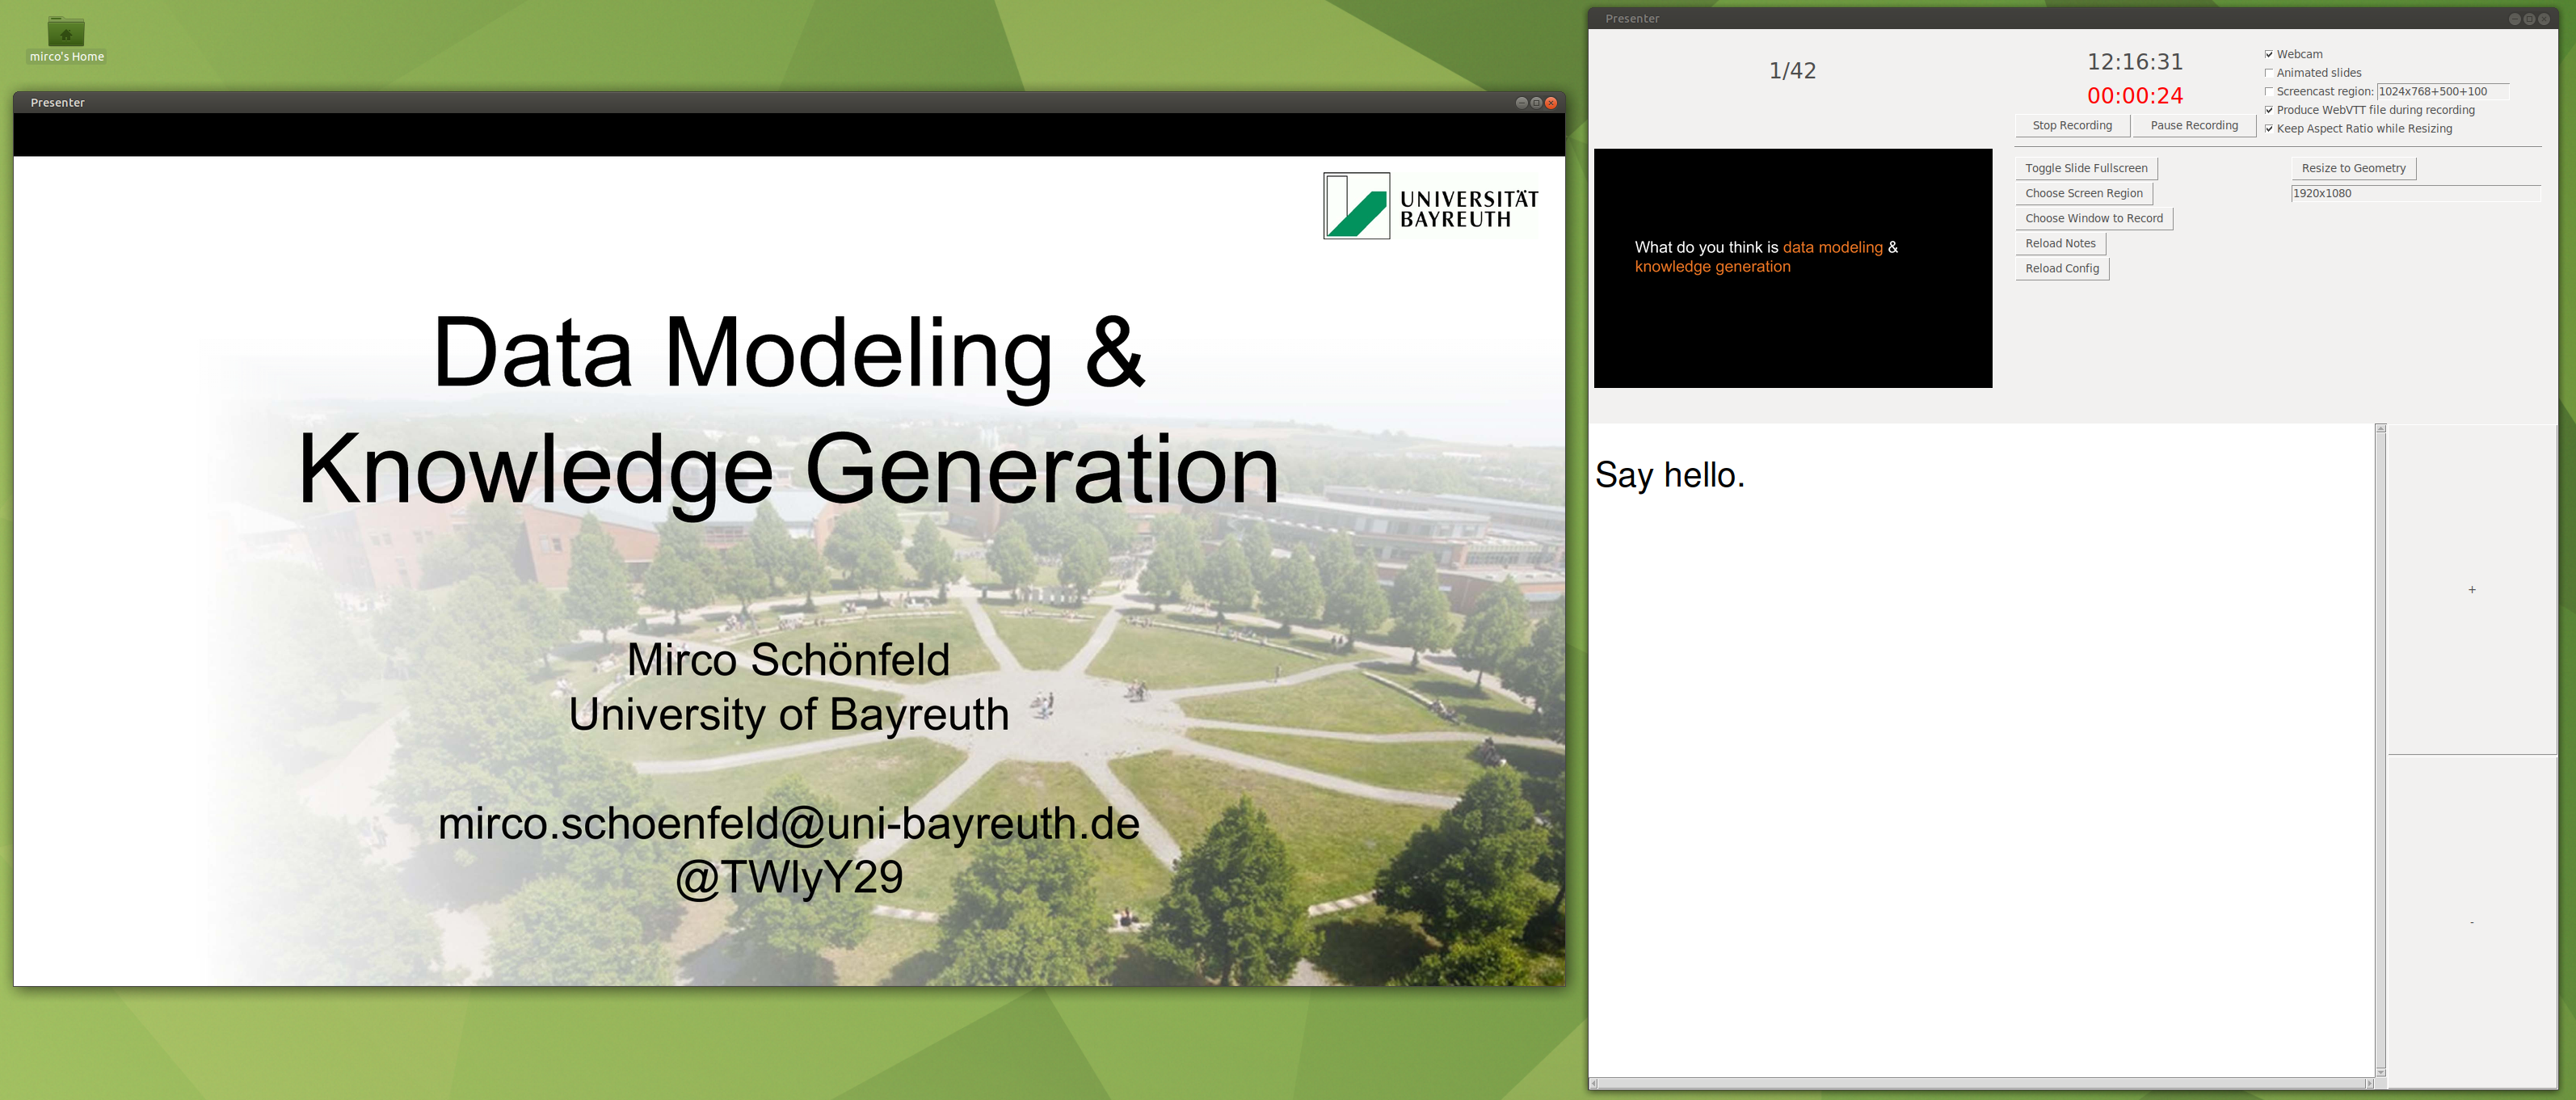
A Tk-based tool to act like PowerPoint's presenter view
Since I love PowerPoint's presenter mode, I decided to put together my own version of it some time ago. Now, after being put to use for the purpose of recording my lecture, the presenterview has seen some big updates that I thought I'd share.
How to use it
The tool is best started from the command line:
present test.pdf
which causes test.pdf to be loaded.
If you start it via
present demo
and demo.pdf doesn't exist in the current directory, it starts in screencast-mode without presenting a pdf. However, the functionality remains the same.
This is an improvement of the version described in last post. The tool is published on my git.
The config-file
The greatest improvement is the config file. It allows you to configure a lot of stuff before starting the tool. Here some highlights regarding the possible configurations:
Preconfiguring the recording
You can have entries like RecordAnimatedSlides = no or RecordWebcam = yes in your .config-file. These pre-define the checkboxes in the GUI.
To select, for example, the webcam device, adjust the FFMPEG-related settings:
FfmpegSourceAudio = -f alsa -ac 1 -ar 48000 -thread_queue_size 2048 -i sysdefault:CARD=CM900
FfmpegSourceWebcam = -f v4l2 -ts abs -video_size 960x540 -thread_queue_size 1024 -i /dev/video2
FfmpegOutputWebcam = libx265 -preset fast -crf 26
These entries are used to configure the FFMPEG inputs and outputs. If you specify
RecordProduceCompressAudio = yes
the audio will be compressed using AAC.
Preconfiguring screencasts
In case you want to record screencasts, adjust these settings to your need:
FfmpegSourceScreen = -f x11grab -show_region 1 -video_size @WIDTH@x@HEIGHT@ -r 25 -thread_queue_size 1024 -i :0.0+@X@,@Y@
FfmpegOutputScreen = libx264 -preset ultrafast -qp 0 -pix_fmt yuv444p
Note that the @...@ fields have to appear in your adjustments as well. These are replaced with the values set in the GUI later.
Adjusting stuff
Sometimes, I had to adjust some stuff in my config file. You can update the loaded configuration without restarting the tool. Just hit the button Reload Config.
Global and local configuration
The tool uses a global configuration file that is stored in your home directory: ~/.presenting_and_recording.config. When starting the tool for the first time, it creates a standard configuration for you. You might have to adjust the audio- and video-input devices though.
You can override the global configuration with a local one that only applies to your current presentation or screencast. Therefore, just create a <project_or_pdf_name>.config in the directory of your current project. That's test.config if you loaded the test.pdf, or demo.config if you started the screencast for the demo-project.
Presentation notes
An essential feature is the ability to show notes you added to the slides. The present-tool loads notes from <project_or_pdf_name>.notes. That's test.notes if you loaded the test.pdf, or demo.notes if you started the screencast for the demo-project. You get the idea ;-)
Loading notes from PowerPoint presentations
You can let present load notes also from a PowerPoint-PPTX-file. Just specify
[DEFAULT]
PathToPPTX = /path/to/some/presentation_with_notes.pptx
in your <project_or_pdf_name>.config file in your current directory.
It loads notes and slide titles. The slide titles are extracted from the template's title field.
Notes-file syntax
The *.notes-file can contain Markdown:
#01:
#title: Introduction

## Intro
Be **funny**
and _witty_

#02:
#title: Motivation
...
You can specify titles manually. If you extract notes from a PPTX, the titles are extracted from the presentation file as well. The titles end up in the WebVTT file and in the *.chapters file that are produced while recording.
Gimmicks
This tool is meant to make your life easier. That's why it contains a few features that are worth mentioning.
Selecting an area of a screencast
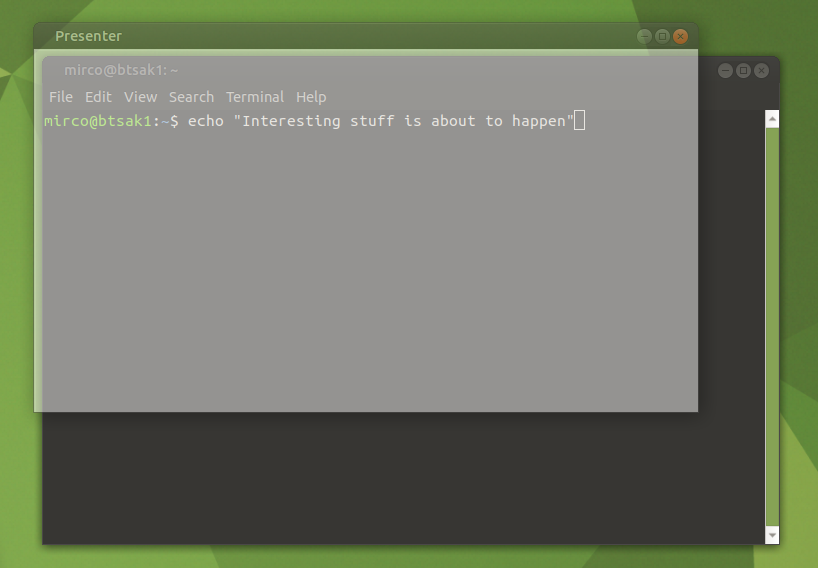
So in case you want to record a screencast (accompanying your slides or not), you can easily select the screen region to record. Use Choose Screen Region to see a half-transparent window floating around. Move and resize this window to cover the area you want to record and click it. It measures it's position and size and reports it back as the screen region to record.

Choosing the area for a screencast
Select a window for recording
In case you want to record a window, e.g. for a programming-tutorial, then use the Choose Window to Record-button. It let's you select a window to record.
Note, however, that this just specifies the area of the screen being recorded. If you move the window, it may be leaving the recording area. I would have done this different, of course. However, the current functionality of ffmpeg and x11grab in Linux doesn't allow to follow windows.
Record
The present-tool now contains everything to record your presentation or screencast.
Every channel that you activate is recorded and written uncompressed to a separate mkv-file to have greatest flexibility in producing your files afterwards.
Presentations
You might wonder why, during your slideshow-presentation, no file for your presentation is produced. In order to reduce filesize, the slideshow-video is compiled later using the timecodes of the *.chapters file. That means, the tool extracts the pages from the PDF, transforms them to images, and glues them together using the recorded durations.
I recorded a 45-minute-talk, recently, which resulted in a file of roughly 35MB -- containing audio. With just the slides, the video was well below 10MB.
It's a different story if you choose to record Animated slides. That produces a screencast-video of the slide viewer using the configuration of FfmpegSourceScreen and FfmpegOutputScreen.
Production
You will be asked if you want to produce everything or specific files (like, for example, the combination of webcam-video and audio.
If you specify
RecordProduceEverything = yes
in your config-file, the tool starts producing stuff right after your presentation. If you wish to fine-tune what files to produce, use these configuration settings:
RecordProduceEverything = no
RecordProduceWebcamPlusAudio = yes
RecordProduceScreencastPlusAudio = yes
RecordProduceSlideshow = yes
RecordProduceSlidesPlusAudio = yes
RecordProduceScreencastOverlay = yes
If you just specify RecordProduceEverything = no and remove the other lines, you'll be asked for each file individually in the GUI.
You can, of course start the production at a later point in time. Therefore, use the
present_reproduce project_or_pdf_name
which is a separate tool that makes use of the same code for producing final files.
Navigating and controlling
Navigating and controlling is done using keyboard shortcuts:
- next slide: up arrow / right arrow / n(ext)
- previous slide: down arrow / left arrow / p(revious)
- toggle fullscreen for the slide view: F11
- start/stop recording: r(ecording)
- additional marker: x(tra marker)
- increase font size for notes: +
- decrease font size for notes: -

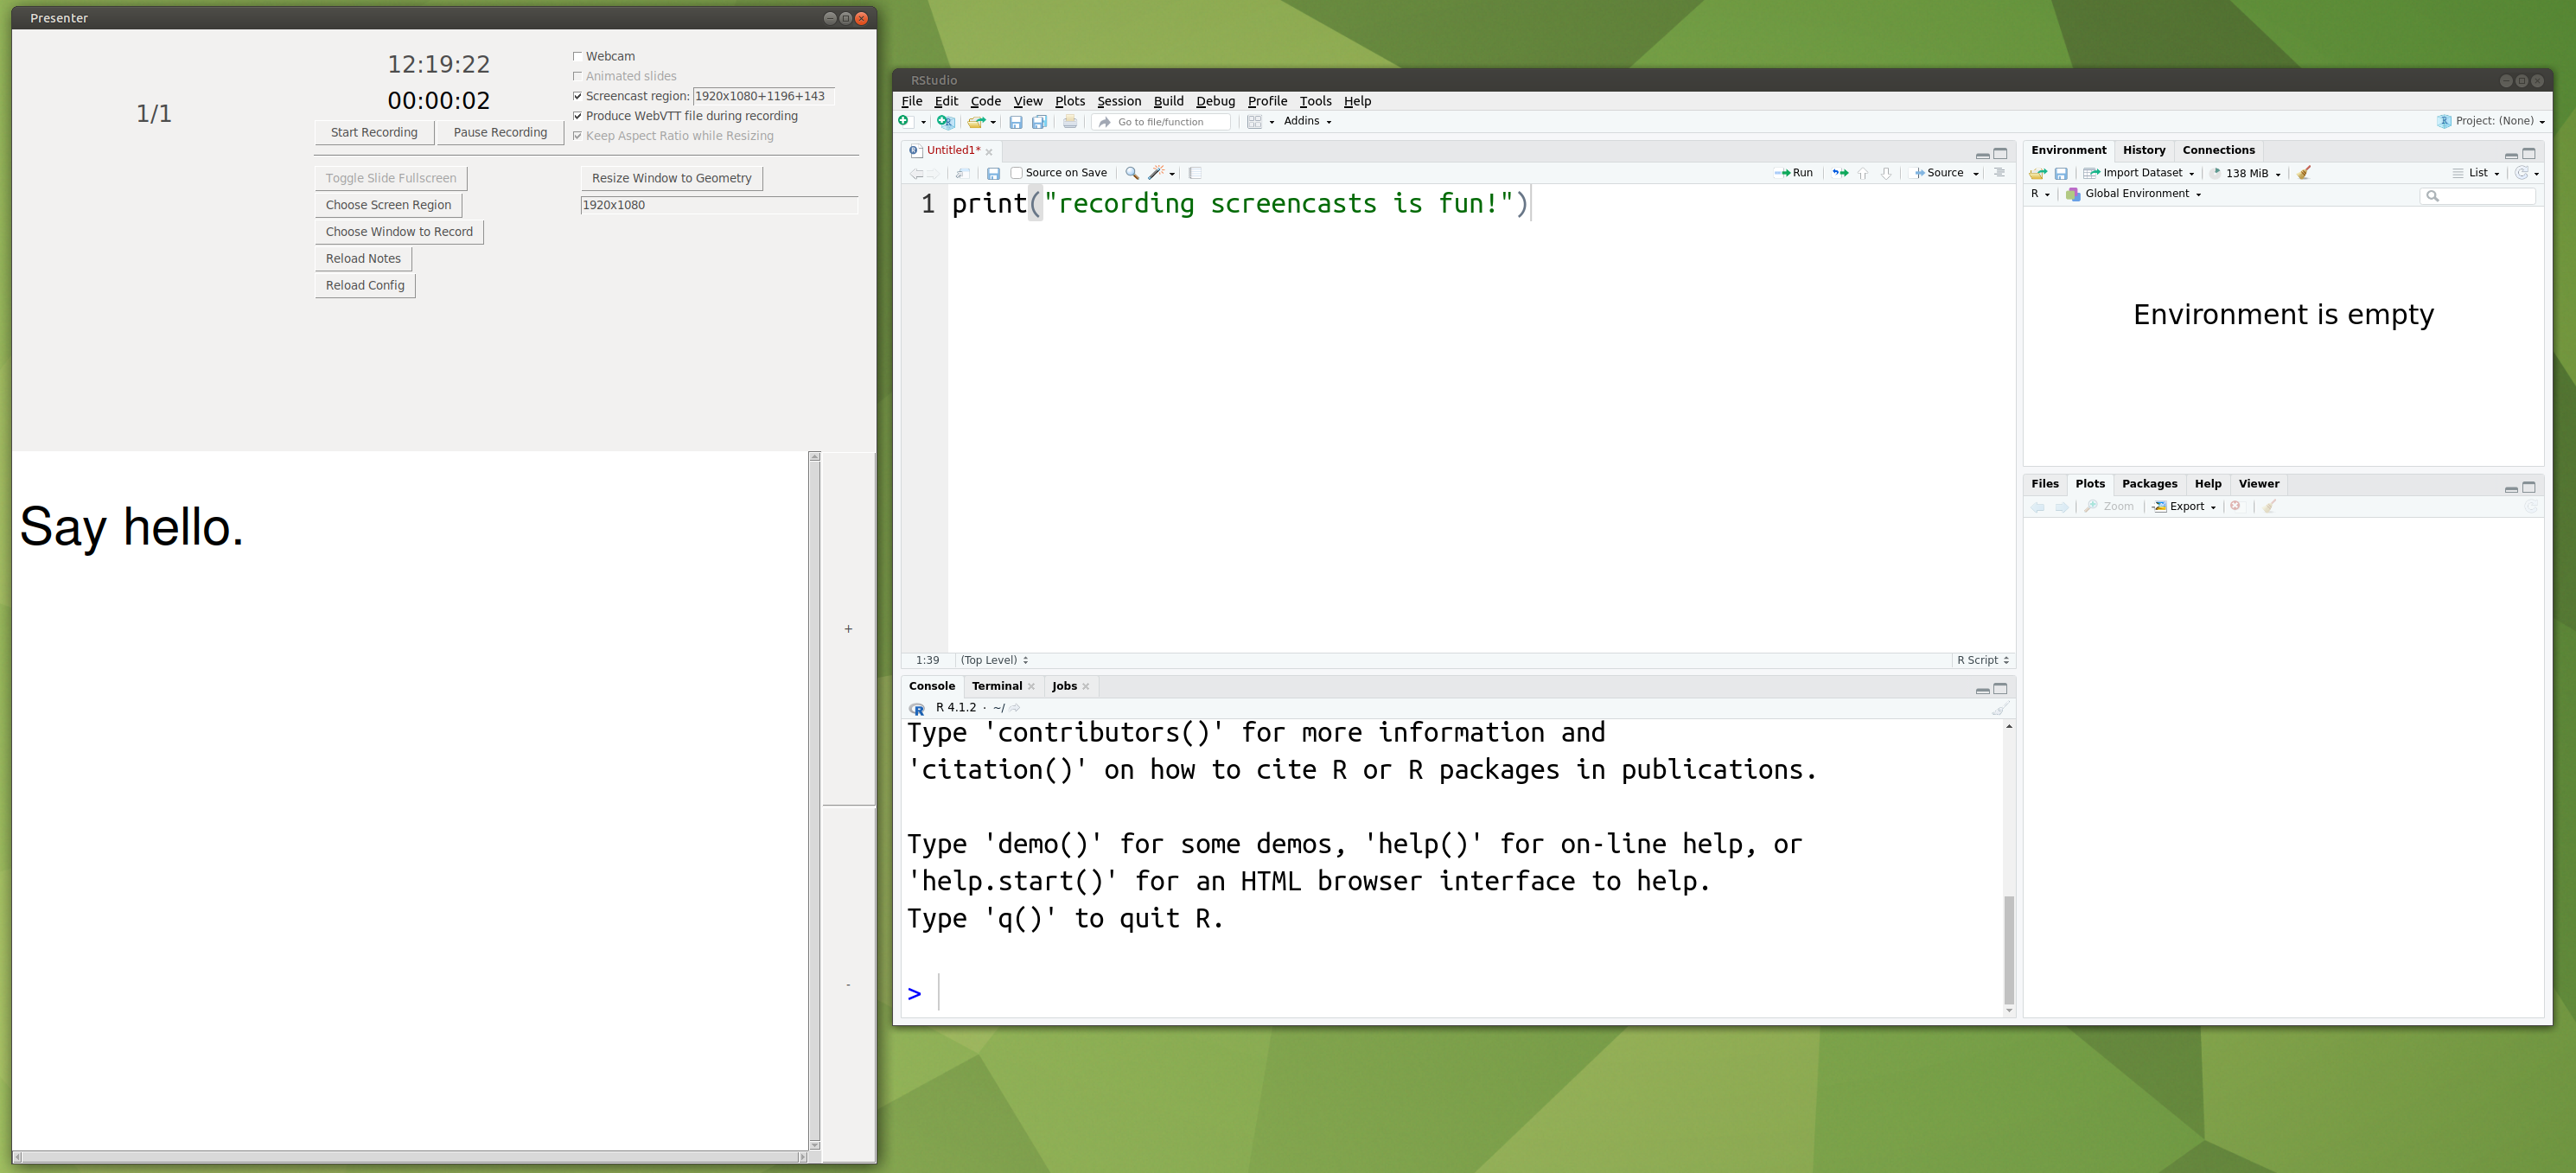
The tool is capable of doing screencasts