Edit 2022-03-25: The presenting-tool described here has improved greatly! Read more in a separate post.
Teaching often challenges your creativity - during Corona-virus pandemic even more than ever.
Since all our classroom events are currently cancelled, we decided to produce small tutorial videos as teaching materials. This requires me to give talks to my computer having the slides or a piece of program code open in front of me recording what I say. Of course, there are a lot of tools readily available - OBS Studio being one of them. But for my purpose it felt too big and not really suited to fit my needs. That's why I decided to put together some scripts and tools - much like every handicraft project begins with visiting a hardware store.
The results are published on my git. This article is to highlight some of them.
Record video and audio
The basis of my screencasting setup is a script called record. Basically, it starts ffmpeg and sox to record my screen and my microphone audio.
You can pass it a screen region which is being recorded by specifying width, height, and the x- and y-coordinates of the top-left corner of the area.
Screencasts
If I have to record a video of a programming tutorial or something else that doesn't just consist of a presentation, I want to specify a region of my screen and start recording. In order to have some pre-configured setups, I put together my screencast script which covers some typical usecases.
It is inspired by a script of Steven Gordon in which he has pre-defined setups to fit the context of his screencast. The setups mainly break down to configuring a region of the screen being recorded. I shamelessly copied this part, extending it by an additional feature:

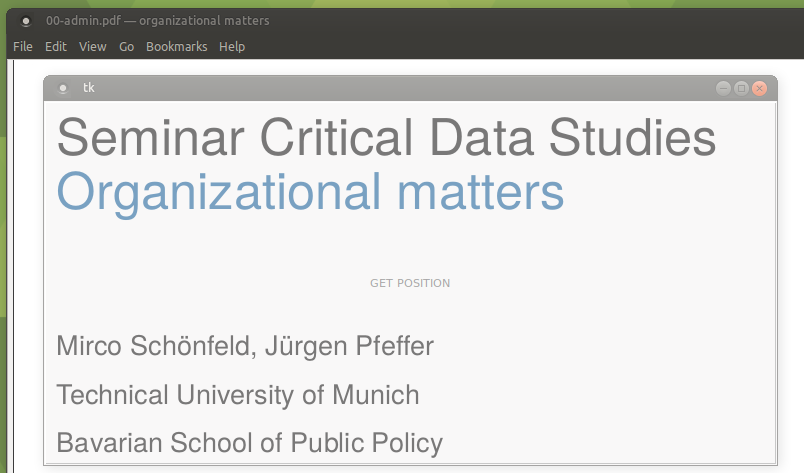
The area under the large button is selected for recording upon clicking on it
If you want to specify a custom region, screencast invokes a small python script which shows a transparent window as it is shown on the picture. You can resize and move this window until its big button covers the area that you want to record. Click the button and screencast uses the area under the button for recording.
Giving talks (to my desktop)
Currently, I give a lot of talks in front of my computer: We split our lectures into smaller chunks of standalone content and make short videos out of it. This means clicking through a presentation and my notes while recording the slides and my talking.
Since I really love PowerPoint's presenter view for this, I decided to put together my own tool for a presenter view:

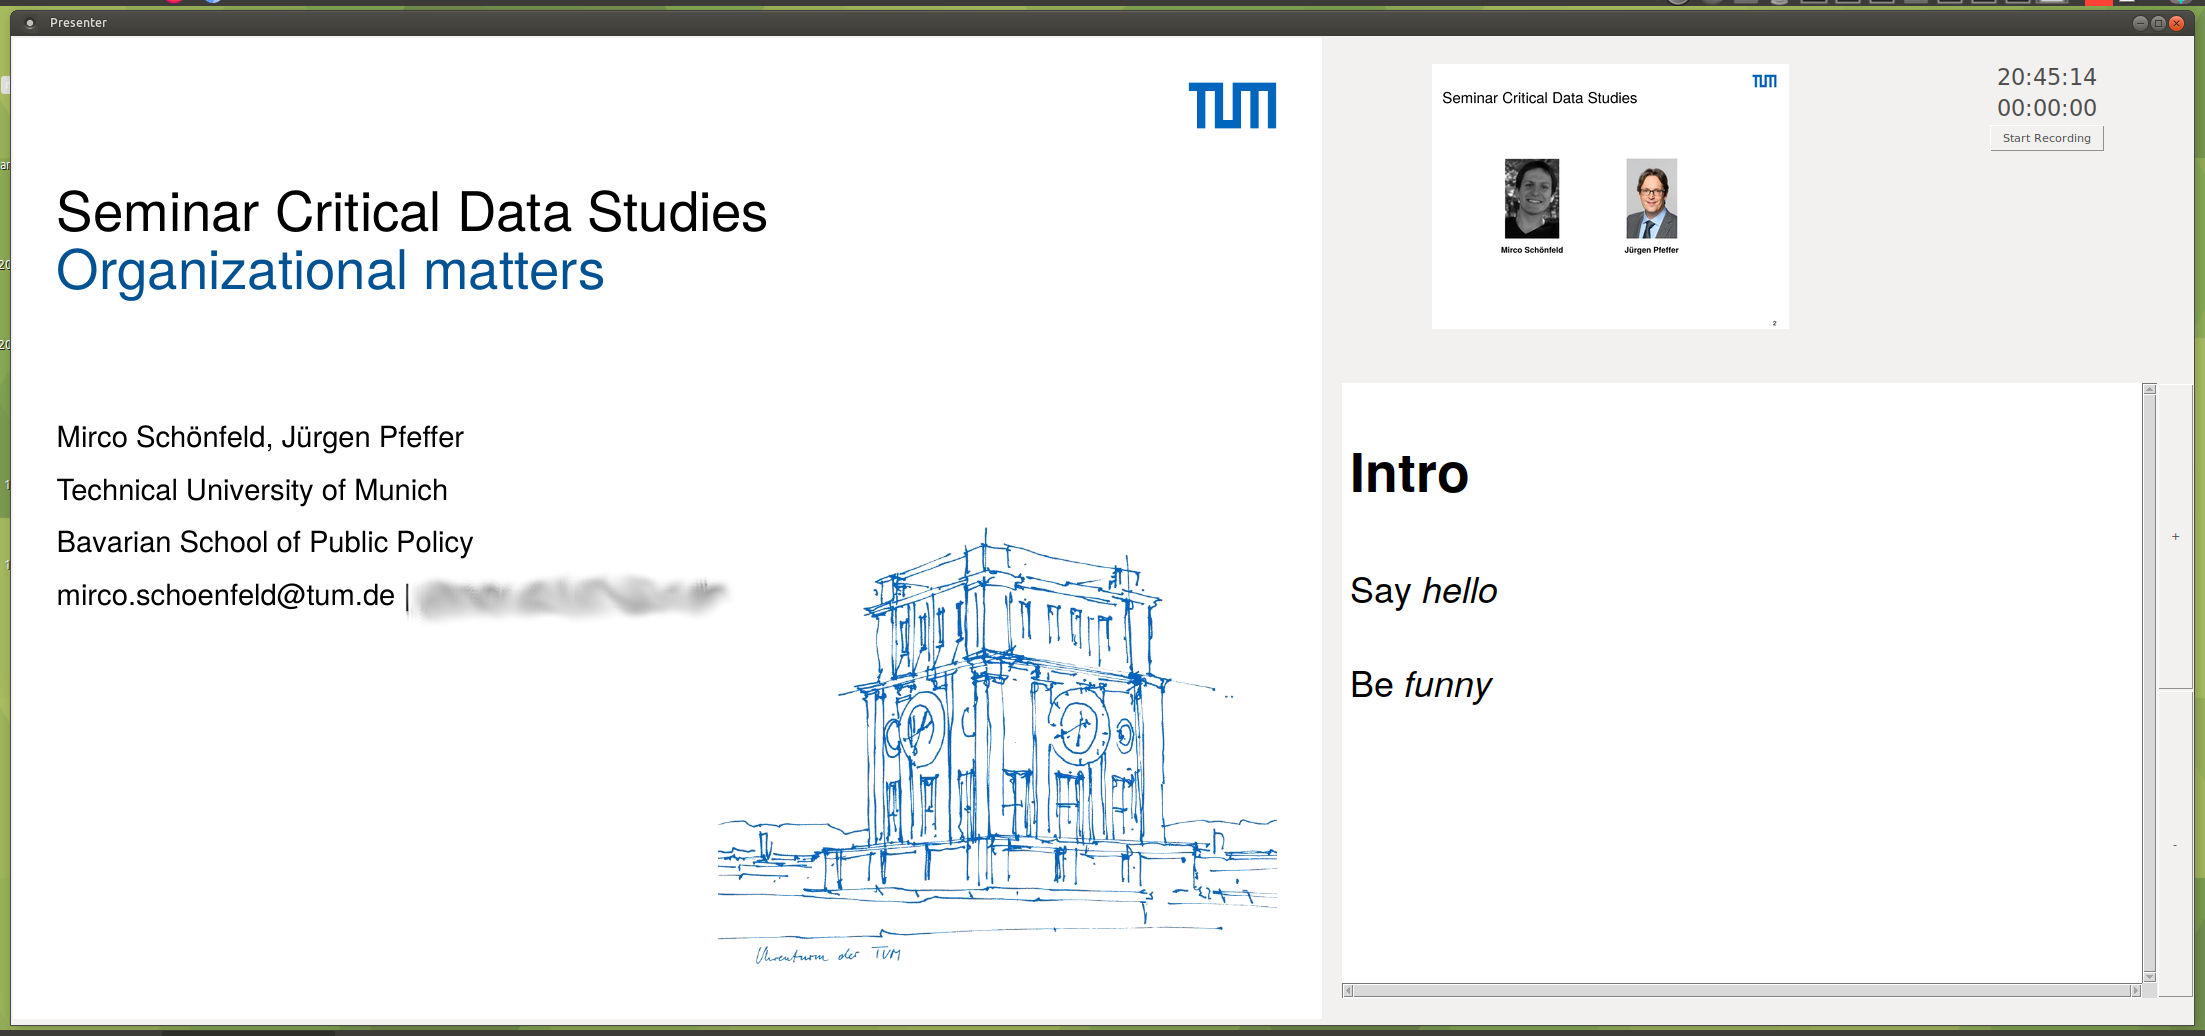
A Tk-based tool to act like PowerPoint's presenter view
You call presenterview from the command line passing it a PDF file to load and the slide number to start from. It allows you to go through the presentation previewing the next slide in the top right corner.
So far, this is tailored to my use case which is me talking to towards my monitor. Of course, I will improve it such that I can use it for any presentation of PDF files. It requires only to detach the slides from the main window showing them in a separate window. That could then be moved to the secondary monitor and shown in fullscreen, for example. Update, a few hours after posting this: The improvement is added.
Navigating and controlling
Navigating and controlling is done using keyboard shortcuts:
- next slide: up arrow / right arrow / n(ext)
- previous slide: down arrow / left arrow / p(revious)
- start/stop recording: r(ecording)
- additional marker: x(tra marker)
- increase font size for notes: +
- decrease font size for notes: -
Presentation notes
An essential feature of PowerPoint's presenter view is the ability to show notes you added to the slides. My presenterview looks for a specific file in the same folder as the PDF file. Say, you want to present test.pdf like in the screenshot then you need a test.notes residing in the same folder.
The *.notes-file can contain Markdown:
#1
## Intro
Say *hello*

Be _funny_

#2
...
The main headings are used to associate the notes to the slide number. Then, everything up to the next slide number is shown as notes to the corresponding slide.
Control recordings
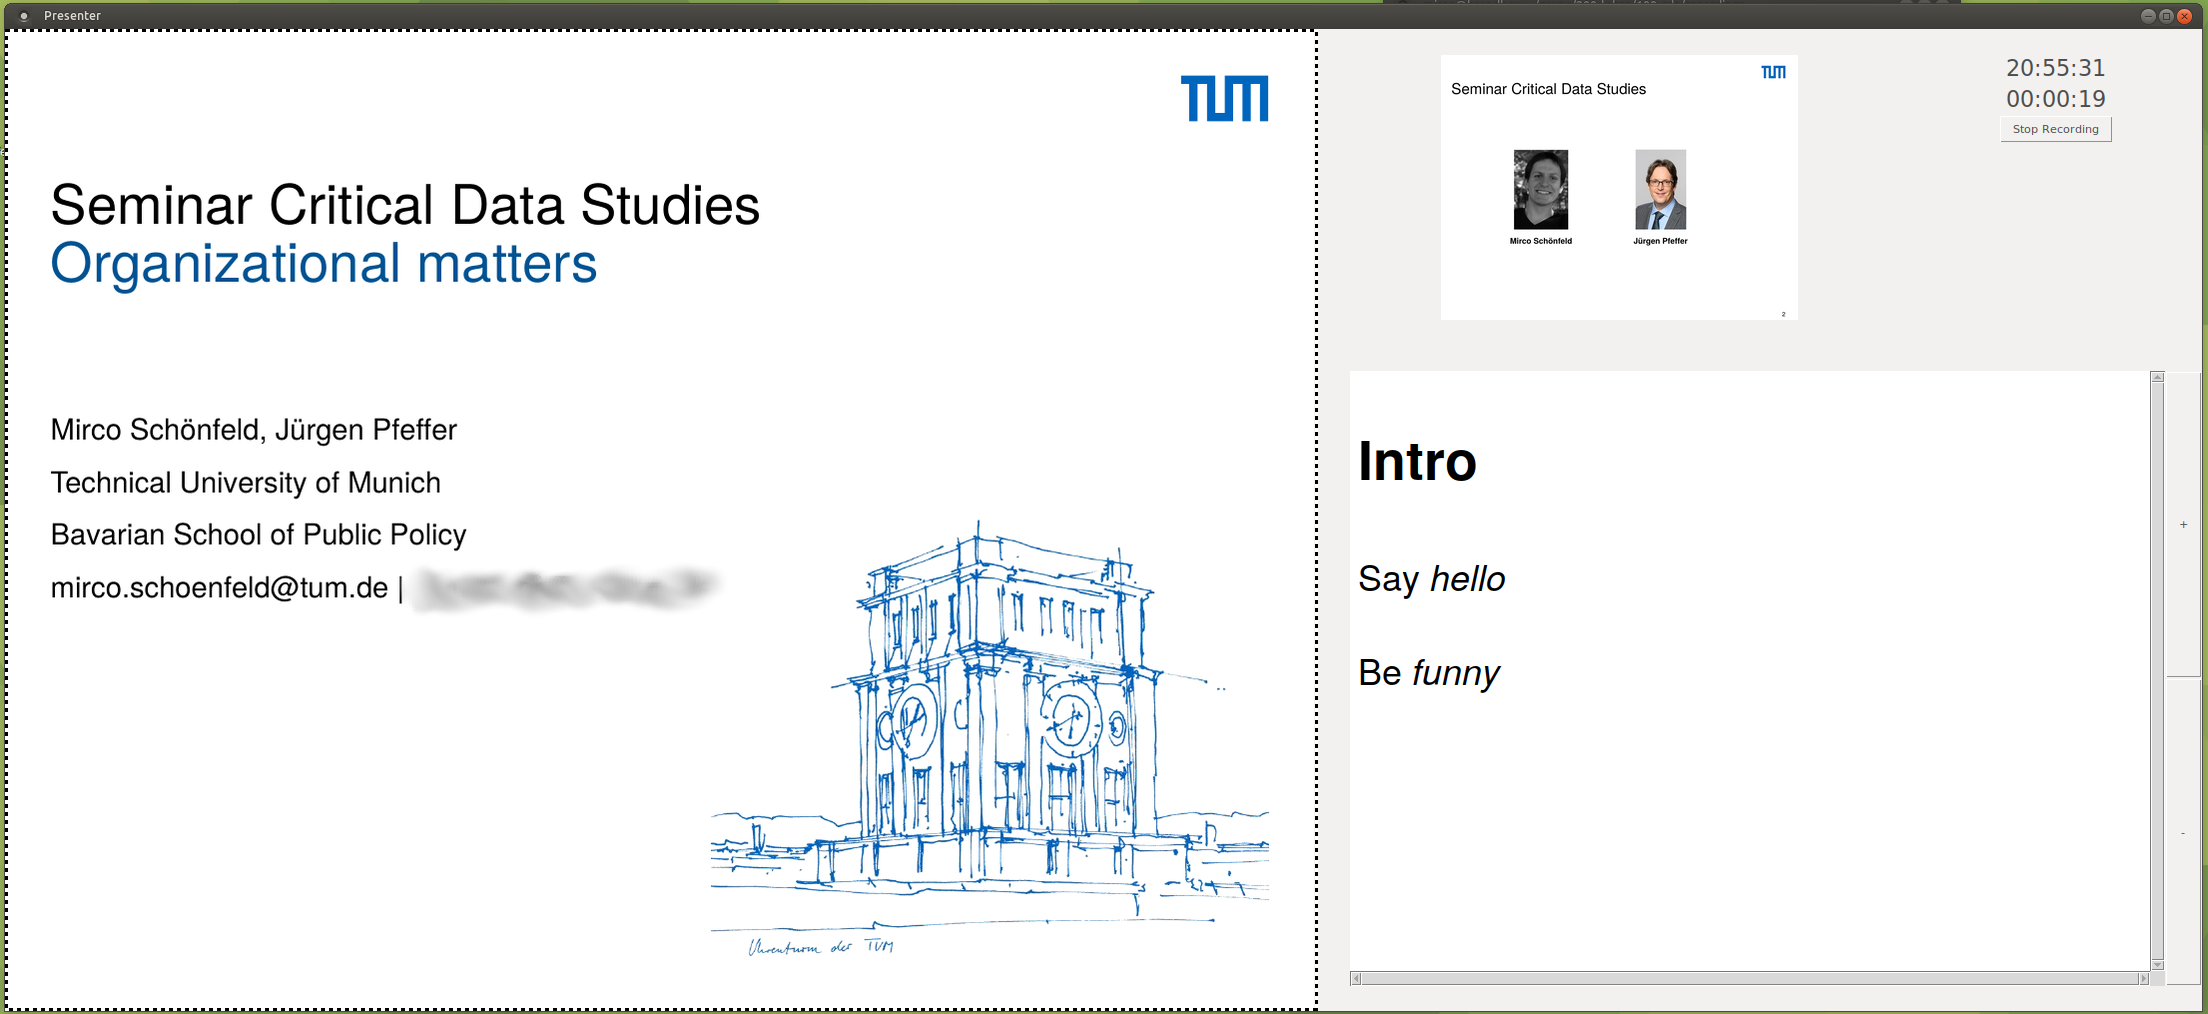
My presenterview also lets you start and stop recordings. In the background, the above-mentioned record script is invoked passing it only the area of the slides as the area of interest. This ensures that your audience won't see your notes and so on as they are used to it from "normal" talks.
 Notice how only the area of the slides is being recorded as the dashed line indicates
While you jump through your slides, an additional file called test-timing.chap is being created. It contains the points in time where the slides changed or where you added an additional marker. This can be used to add chapter markers to the produced mp4-video file.
Producing a final video
The last part of my toolchain is called producerecording and it is used to put everything together. So far, record has produced a test-screen.mp4 as well as a test-audio.flac. Maybe you also have a test-timing.chap containing chapter markers. This last script creates the final test.mp4.
Before the final file is being produced, you are asked if you want to apply some gain to the audio, and if you would like to edit the chapter markers if the script found some. You could, for example, add some speaking headlines to the slide changes or additional markers.
However, the resulting test.mp4 is a nice mp4 file with chapter markers.